In simple terms, Hyperbolic Crochet is based around ratios of increase. Starting with any number of chain stitches and either working in the round or around a single line (rather than turning at the end of a row), increasing in a uniform pattern, gives a hyperbolic plane.
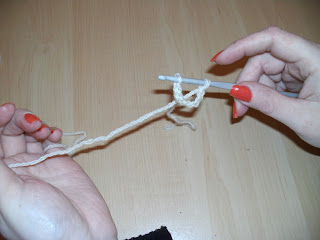
The first thing to do before starting to crochet is to set up your yarn,
hook and hands to ensure perfect tension. For right handed crafters, wrap the yarn around your little finger on the left hand then pass it between your first finger and thumb, as a second tension guide. With the hook grasped lightly in the right hand, a slip knot acting as the first 'chain', hold onto the tail (short, non-working end) made by the slipknot.
 |
| Hand set-up for correct tensioning. |
Begin to chain stitch by wrapping the yarn around the hook once (I find that wrapping towards myself is most efficient) and pull this through the slip knot. The next chain stitch is made by wrapping the hook once and pulling this through the last chain stitch.
 |
| Hook wrapped for next chain stitch. |
Note that the tail is now held by the left hand and the hook is worked solely by the right hand. A second tensioning wrap is also useful for taking up slack yarn and ensuring perfect tension. Use the tail (now made up of chain stitches) to aid smooth working of the hook.
 |
| Chain stitch completed. |
To join the 9 chain stitches into a round, ready for working in a spiral, put the hook back through the first chain stitch made (usually the slip knot). You should now have two loops on the hook.
 |
| First chain stitch on the hook. |
Wrap the hook once and pull through both stitches at once, this is a slip stitch. Note holding the chain loop to ensure good tension and easy use of the hook.
 |
| Chain now joined by a slip stitch |
This sample is being worked in Treble Crochet, Treble Crochet stitches are formed in the following way:
 |
| Wrap the hook and then insert it into the first front loop of the round. |
 |
| Wrap the hook again and pull it through the first stitch only. |
|
You now have three loops on the hook
 |
| Wrap the hook again and pull it through the first two stitches |
 |
| Wrap the hook a final time and pull it through the last two stitches |
You now have a Treble Crochet stitch. A simple way to remember how to form these stitches is 'through one, through two, through two'
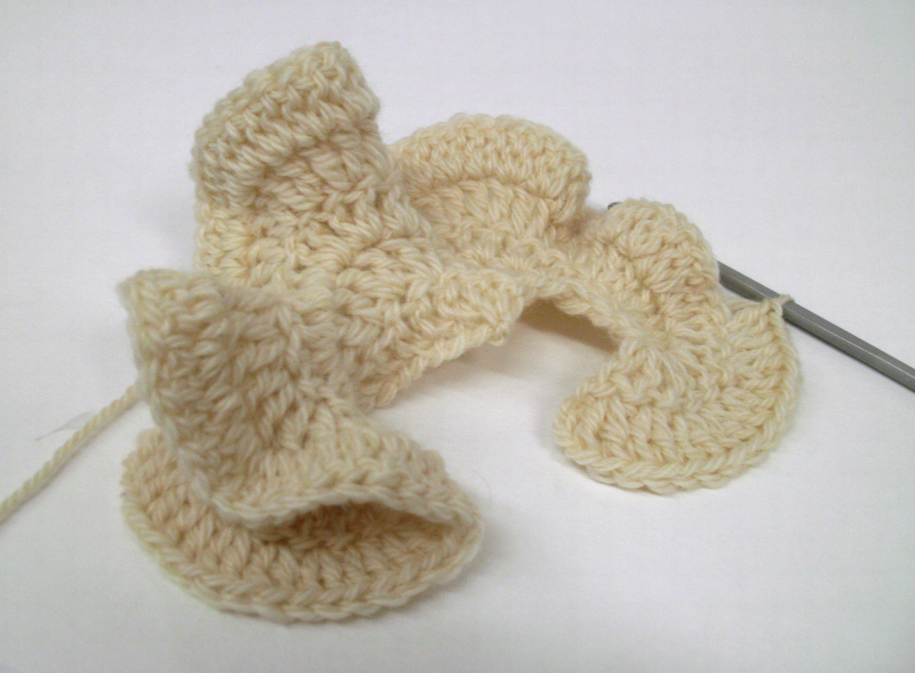
The following sample, continuing on from this starting chain loop of 9 stitches, is worked with a 'one in one increase'. A one in one increase assumes there will always be one stitch made for every stitch existing in the round. Therefore, one stitch is increased per stitch meaning two Treble Crochets will be made in every single stitch. This type of increase gives quite dramatic results early on.
Note the spiral formation of the sample, I have found this works best for hyperbolic forms. The alternative method is working in full joined rounds, chaining up to the next round.
Please also note the 'ribbed' lines between each round, this is done by picking up the front part of the stitch only rather than the conventional basic method which picks up both 'under the V'.


